Image dock is a tool window that manage all images used in the plot. You can toggle the visibility of image dock by clicking the "Image Dock" button on the right-top corner:
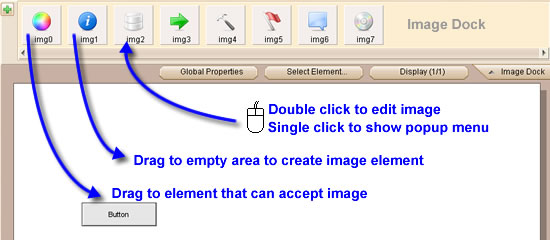
The figure below shows how the image dock looks like and the way to work with it.
The small ![]() button on the left top corner can bring out a popup menu, which allows you to
add new image from external file or from the included icon libraries.
button on the left top corner can bring out a popup menu, which allows you to
add new image from external file or from the included icon libraries.
You can drag the image in image dock to the editing area. If you drop the image in an empty area, a new image element will be created (which point to the image you dragged). If you drop the image over an element that can accept image, that element will point to the image you dragged. The animation below shows the details:
You can double click the image in image dock, a window will be displayed:
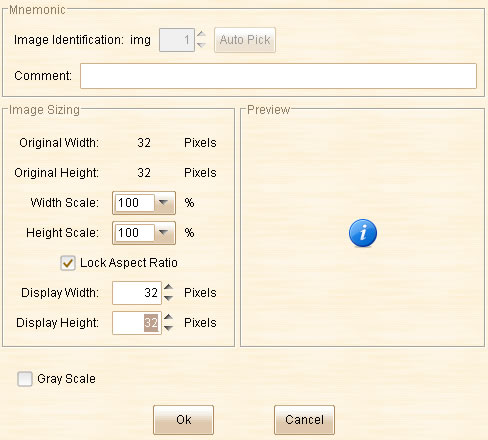
Here you can add comment to the image, resize the image or make it gray scale. Once you perform the changes in this window, all elements that reference this image will be updated as well.
If you single click the image in image dock, a popup menu will be displayed. The popup menu will provide some information about the image and some tools to manipulate the image.
