Today’s topic is… selecting elements in ForeUI. Seems I have nothing to write so I pick such an easy thing to introduce? Maybe and maybe not. Have you noticed the “leading selected element”? Do you know what is it for? If your answers are “yes” for both, you can just ignore the content below 🙂
When we are creating mockups for our software or website, we need to select elements very frequently. Most people know that single clicking on the element can perform the selection, draging a rectangular bounds that contains multiple elements will select those elements at a time. Did you know that we can press SHIFT key to select in “plus” mode? When you do this the cursor will be changed to ![]() and you can single click elements to add them into the selection. Also you can press CTRL key to select in “minus” mode, the cursor will look like
and you can single click elements to add them into the selection. Also you can press CTRL key to select in “minus” mode, the cursor will look like ![]() and you can single click elements that already within the selection to exclude them.
and you can single click elements that already within the selection to exclude them.
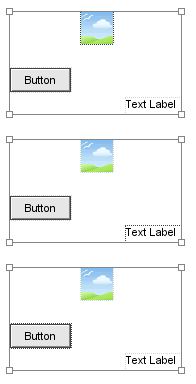
What’s more, there is a “leading selected element” concept in ForeUI. When you select several elements at a time, there will be an element that marked as “leading selected element”, which will have a dash line border with darker color around it. Take a look at the animation below, then you will know what I mean. We can change the leading selected element by clicking another element within the selection.

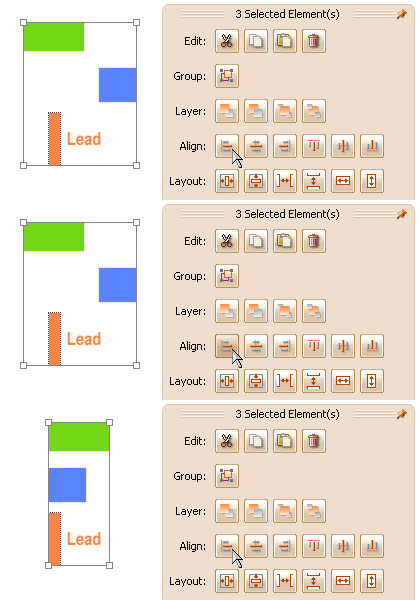
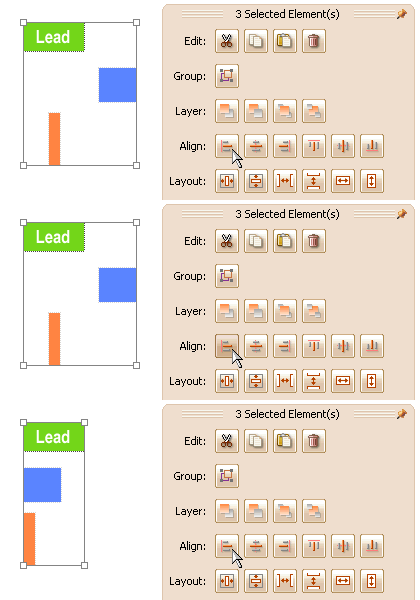
What is the leading selected element for? First of all, it allow you to edit single element when you are selecting multiple elements. You don’t have to cancel the big selection and select a single element for editing, you can just set it as the leading selected element, then work on it in the floating tool pane. Secondly the leading selected element can work as the “reference substance” of some actions, it will be very easy to understand if you take a look at the animations below:

