Hello everyone, today we are so glad to announce the release of ForeUI version 5.0!
What’s New?
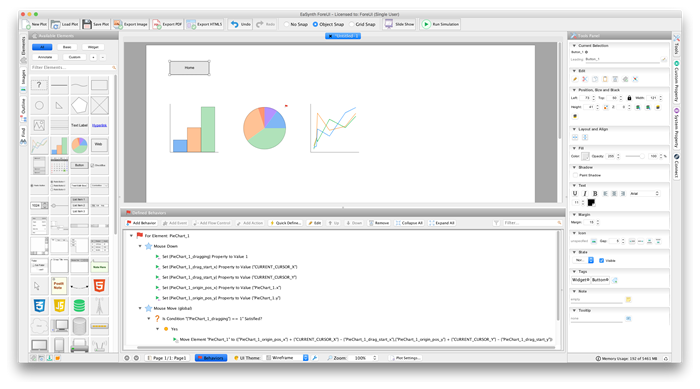
Since this version, ForeUI fully supports Retina and other HD displays. The icons in ForeUI are remade so they have can high quality in Retina display.
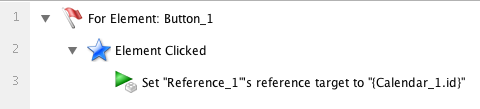
You will notice a new element named “Bezier Curve” is added into the element panel now. You can freely control the shape of bezier curve by dragging its 4 control points in the editing area.
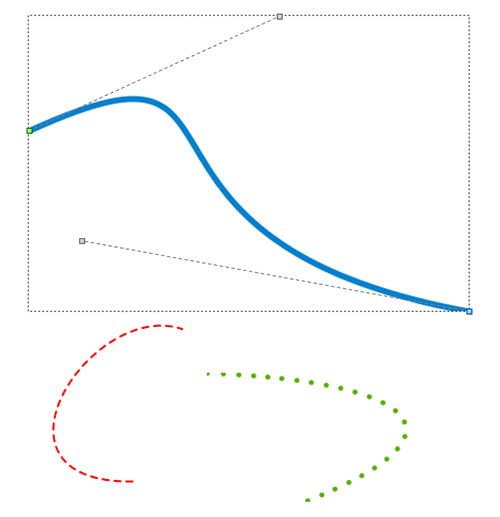
The bezier curve element unlocks a lot of possibilities for creating complex geometric figure in ForeUI, and you can still get the identical look of these figure in exported PDF and HTML5 simulation.
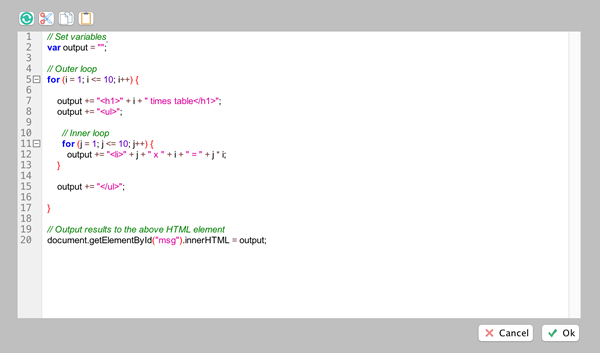
The Html, Css and Script elements have much better code editors now. The code editor can now highlight the syntax and allows folding the code, which makes reviewing and editing much easier.
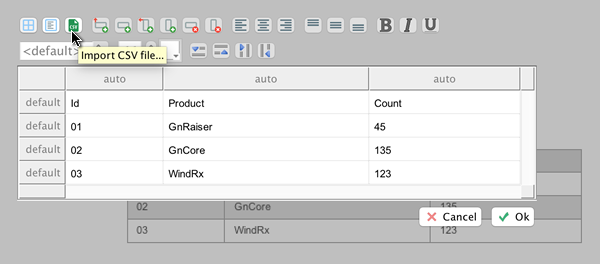
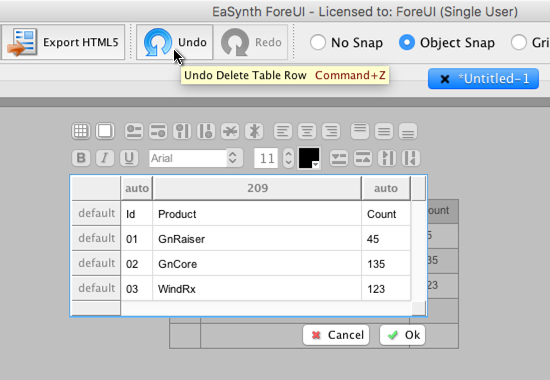
The table editor can now import CSV file as the table content. Just click this new button in the toolbar and you can choose to import different formats of CSV files.
A full list of new features and enhancements can be found here.
How to Update?
The version 5.0 is a major update. If you are using older version already, you will not be able to update it via the online updater, and you will have to download the new installer here and install it.

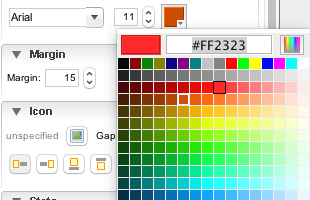
 We also made some enhancements on opacity adjusting in either the tools panel and the behavior editor. In previous versions, you can input the opacity value as 0~255 integer, and when you define the action to change the opacity, you will input a percentage. It is not comfortable that they use different system, while they are actually setting the same thing. However we prefer to keep both systems as they are all useful. Adjusting number between 0 and 255 is more accurate, while displaying % is more intuitive. So we finally implement it like this:
 Enjoy 🙂