Hello everyone, today I’d be happy to announce that ForeUI V1.50 is released!
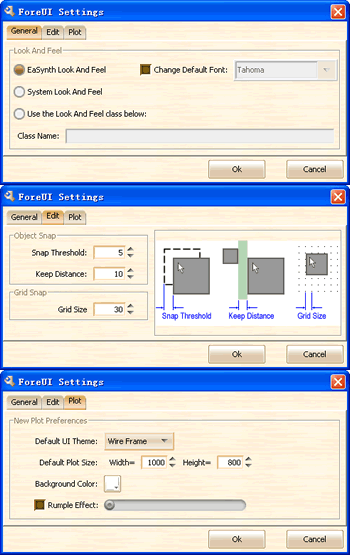
From V1.50, ForeUI provides the settings dialog, which allow you to specify its look and feel, some parameters for editing and the preferenced parameter for new created plot. You can open the settings dialog via menu “Advanced->Settings”:
In the “General” section of the settings, you can change the look and feel of ForeUI. We use EaSynth look and feel (the bronze-coloured style) as the default look and feel, someone like it, and some one hate it. The reason that we don’t use the native look and feel is to avoid mixing up the editing content (with high fidelity) and the tool itself. Now we provide the options to switch the look and feel so users can pick the one they like.
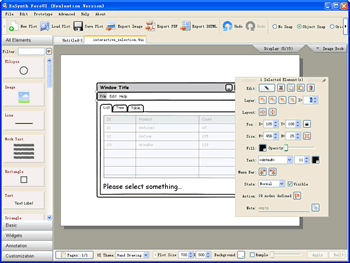
The “System Look And Feel” option means using the native look and feel provided by the system, so the final result varies depending on your operating system. If you choose this option, your ForeUI will look like this in Windows XP:
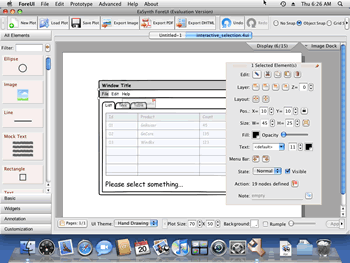
And if you are using Mac OS X, your ForeUI will look like this:
There is an option that allow you to input the class name of the look and feel, it is not so useful to most users. If you want to use the Java metal look and feel, you can input the “javax.swing.plaf.metal.MetalLookAndFeel” here to see the result.
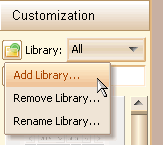
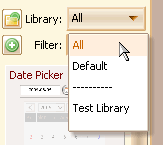
Another interesting update is the element library supporting (requested by Ari). Now you can define your own library for customized elements. This can help you to manage large number of customized elements. In the future, we will also allow upload/download/share the libraries via internet.
You can switch the current library from the drop-down list, you can also regard it as a filter – only list the elements with the current library. If you choose the “All” library, all elements will be listed no matter which library it belongs to; If you choose the “Default” library, all elements that are not assigned to a library will be listed. You can click the button with ![]() icon on the customized element to move it to a library.
icon on the customized element to move it to a library.
From V1.50, the border of Text Edit Box element can be hidden, this feature is requested by Ulrich Böttger. With this new feature, you can make your own customized text input field (with special border).
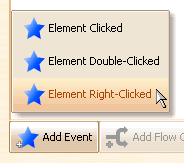
Another basic event “Right Clicked” is supported in V1.50, thus you can handle the mouse right click on any element. For example, you can handle this event and show the context menu on a window element.
We also implemented some enhancements in V1.50:
- Add cut/copy/paste/delete items to edit menu.
- The plot property bar on bottom will become scrollable when window isn’t wide enough.
- Behavior editor toolbar will become scrollable when dialog isn’t wide enough.
And some bugs are fixed:
- Bug_0074: The thumbnail of customized element with single component will be too tall.
- Bug_0079: Text label has extra margin in simulation.
- Bug_0080: Incorrect text margin of Text Edit Box in simulation.
- Bug_0081: PDF export: Generate 2 pages PDF for single page plot.
- Bug_0082: Change the state of non-selectable element will cause JS exception during simulation.
