When we create UI prototype for our product with ForeUI, we may need to use some images (for example, icons in menu). ForeUI provides a very flexible and easy way to manage the images within the mockup, there is an “image dock” for every mockup, which will maintain all used images.
The image dock is hidden by default, since we don’t need to work on it directly in most cases, but it is working silently in the background. It just like a storehouse, caching all images that used by any element. Each image in the dock will have its own identification, any element that use this image is actually link to its identification. For example, a button use the image with “img1” identification as its icon, you can insert the “[img1]” at the beginning of its text, and ForeUI will recognize it and show the image as the icon of button.
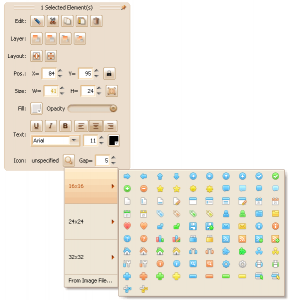
Yes we can input that “[img1]” in the button text to assign an icon for it, but we don’t have to do so, since we have more convenient approach: specify the image in the floating tool panel, see the figure below:
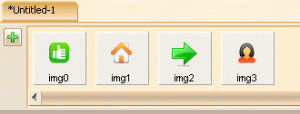
We don’t have to understand how the image dock works, we just choose the image we need, ForeUI will take care of all the rest. We can check the image dock at any time, just click the “Image Dock” button on the top-right corner of the plot, we can see all used images:
You can single-click each image in the list to see what can we do on it, also you can double-click it to make some processing on the image. Remarks: Once you make change on the image, all elements that use this image will be updated automatically.


