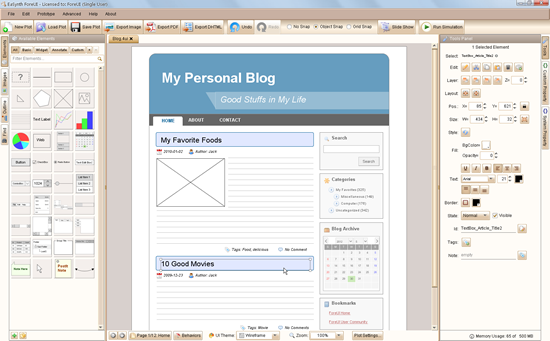
The official release of ForeUI V3.0 is delivered today. Comparing with the previous releases, this version is more focus on the reliability and usability. However, there is still an exciting new feature in this version, which is called “integration task” that can easily integrate ForeUI with other tools.
You may already know that you can invoke ForeUI via command line to generate image or HTML5 simulation. However, have you considered to use other tools to process the file(s) generated by ForeUI? The integration task is designed for that purpose. In the settings window, you will see a new tab named “Integration”, which allows you to manage the integration tasks.
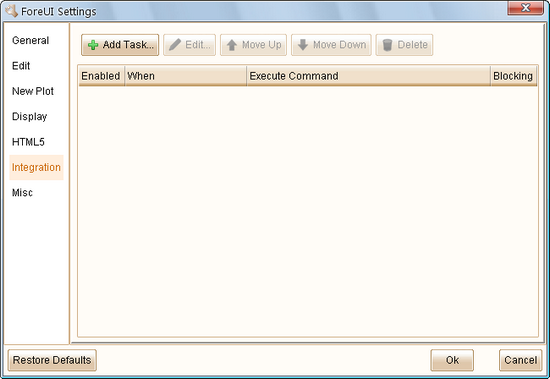
You can click the “Add Task…” button to add a new integration task. Here you can specify the parameters for the task.
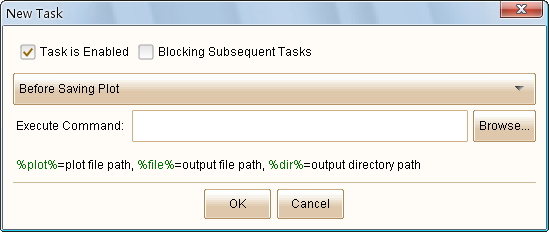
If you unselect the “Task is Enabled” option, the new task will be created but not take effect immediately, until you enable it later.
If you select the “Blocking Subsequent Tasks” option, the new task will block the workflow until the command is finished. This is useful when you want to execute a serial of tasks in order.
You will need to specify the condition that trigger the task. So far ForeUI supports these conditions:
- Before Saving Plot
- After Saving Plot
- Before Export HTML5
- After Export HTML5
You can input or browse the command to be executed, and you can use the variables below in the command:
- %plot%: the file path of the current editing plot.
- %file%: the path of the output file. For Before/After Saving Plot task, it will be the path of plot file to save; For Before/After Export HTML5 task, it will be the path of generated HTML file.
- %dir%: the path of the output directory. For Before/After Saving Plot task, it will be the path of directory to save plot file; For Before/After Export HTML5 task, it will be the path of directory that store the generated HTML files.
By making use of the integration task, you can invoke other tools to process the file generated by ForeUI.
Example: Auto Commit Plot File to SVN Repository
Some customers have asked for the version control feature. Now we can have it by integrating ForeUI with SVN. If you are not familiar with the usage of SVN, you can find some tutorials via google.
Assume that you want to commit the plot file to SVN repository everytime after you save the plot. First you should add your plot file into a project, and checkout your project to a local directory. Then please open the plot with ForeUI and go to the “Integration” tab in settings window. You can create an integration task like this:
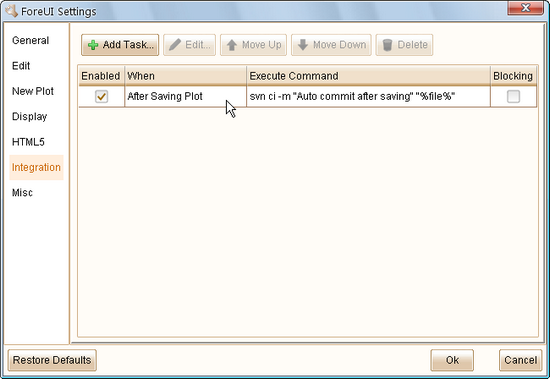
That’s all, every time you save your plot, it will be committed to the SVN repository, so you will never lose your work, theoretically 🙂
If the plot file is not added into your SVN project, the command above will do nothing.
Remarks: the integration task feature is available for registered user only.
Other Enhancements and Bug Fixings:
Please check out this page to see the complete list of enhancements and fixed bugs in this version.
