ForeUI V4.1 is released now. This update introduces a new element named “Local Storage”, which is a representative of the “local storage” concept in HTML5. As you may have already known that, in ForeUI we have the “Html” and “Script” elements, which could be used to access the local storage in HTML5 directly. However, the new local storage element still bring you some benefits.
The Local Storage Element
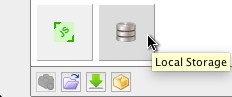
The local storage element is just like the “Html”, “Css” and “Script” elements, they could be dragged and dropped into the editing area but they are not visible in the simulation.
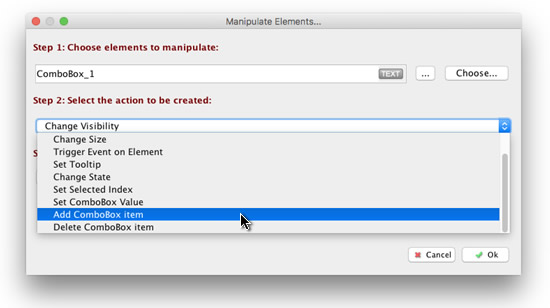
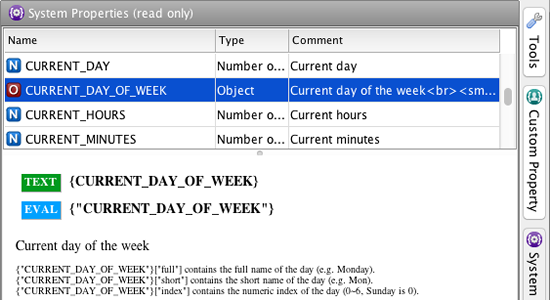
One advantage of using this Local Storage element is that it provides a namespace for each instance of this element. So you can use this element like a database table, and different instances of this element can store values with the same key. In the “Manipulate Elements…” window, you can choose the “Set Local Storage Data” action and then specify the data as a key-value pair.
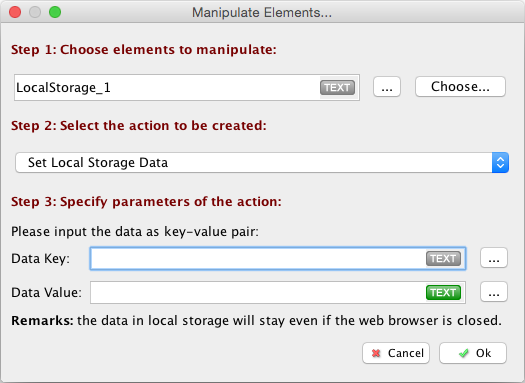
As you may already know that, the local storage in HTML5 can only store data as text string. The local storage element in ForeUI however, can store any data type supported by ForeUI, which are number, string, array and object. You don’t need to worry about how they get stored, ForeUI will take care of that for you.
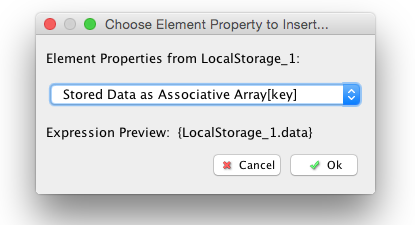
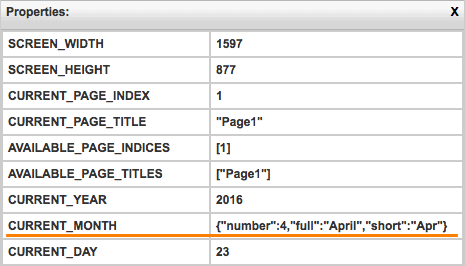
The data stored in the local storage could then be retrieved as an element property (associative array type).
Communication between Simulations
This is the most interesting part. The data stored in local storage are persisted even the browser window gets closed, and they could be retrieved and used later. This could be used as an approach for communication between ForeUI simulations!
By using this local storage element, multiple ForeUI simulations can talk to each other. Of course you can achieve the same effect by directly using the local storage in HTML5, but ForeUI’s local storage element has its own namespace, and can easily help you to make sure the simulations can (or can not) share certain data.
The video below shows an example, there are two ForeUI plots and we launch two instances of simulation for each. Thanks to the local storage, these simulations are sharing the same data (x and y positions of the object). As you can see, the object locations are synchronized between all simulations.
You may wonder how this is achieved. The magic is that both plots have a local storage element named “LocalStorage_GreenBall” (so they share the same namespace), and both plots are using the values with the same key (“x” and “y”) in this local storage element.
If you are interested in these example plots, they could be downloaded from the ForeUI store, or you can run the simulation directly from here and here.
It can be a Game Changer
It is cool that ForeUI simulations can communicate to each other, it could be useful to simulate the interaction between two or more applications. But it is not just that, this local storage element can actually change the whole game.
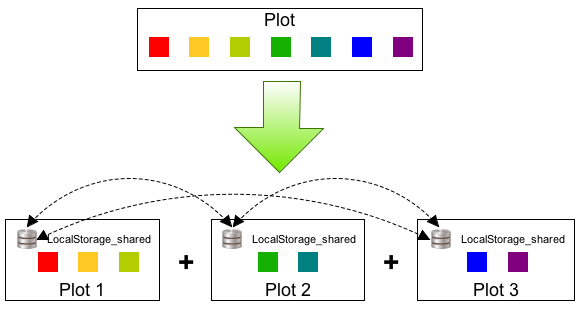
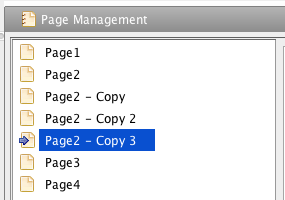
Have you ever tried to design a huge plot with ForeUI? When the plot becomes very big and complex (let’s say 100 pages with full of elements and behavior), it will be much harder to manage. The application will eat a lot of memory and becomes much slower. What’s more, loading the simulation for such a huge plot will be extremely slow, and sometimes your browser just lose response forever.
In this case, our suggestion is to split your design into multiple plots. But there is a problem followed, after splitting the plot, how can they share data between each other? There was no easy way to solve the problem before, but now we have one. By putting the data into the local storage, they could be accessed by multiple plots, which will work together and behave like just one plot.
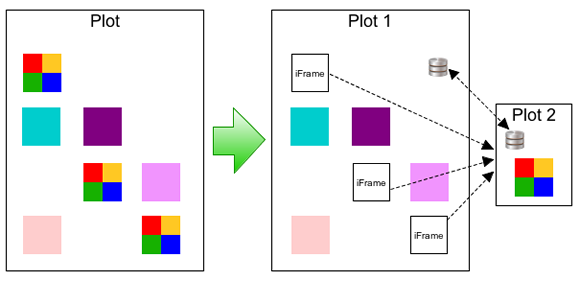
There is more. ForeUI has “iFrame” element at the very beginning, so it is possible to embed a simulation in another. Now we can make it even better, the simulation within iFrame can communicate with the outer simulation via local storage. That actually provides a new idea to design your plot. Some heavy-weight, reusable content could be created as a separated plot, and get embedded (maybe multiple times) in another plot’s simulation.
What do you think? With this new local storage element, you can design your plot in new ways, and implement much more exciting things in ForeUI!

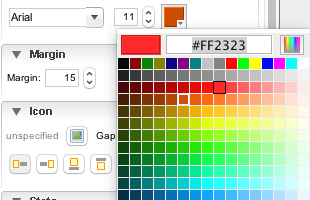
 We also made some enhancements on opacity adjusting in either the tools panel and the behavior editor. In previous versions, you can input the opacity value as 0~255 integer, and when you define the action to change the opacity, you will input a percentage. It is not comfortable that they use different system, while they are actually setting the same thing. However we prefer to keep both systems as they are all useful. Adjusting number between 0 and 255 is more accurate, while displaying % is more intuitive. So we finally implement it like this:
 Enjoy 🙂

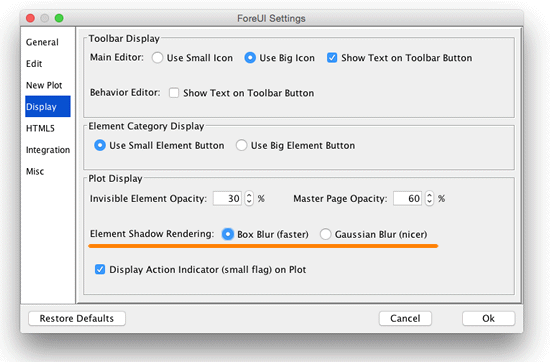
 It is no doubt that Gaussian blur is nicer, but please notice that Gaussian blur algorithm is quite CPU consuming. If your machine is not fast enough and your plot has many elements that has shadow, you may feel the slowing down of rendering. So use it wisely 🙂